A functioning brake light is essential for safe and legal driving because it alerts other drivers when you are slowing down or stopping. If your brake light is out, replace it quickly to avoid traffic tickets and stay visible on the road. Searching for brake repair Houston can help you find professional help if you need an electrical or brake system inspection. Changing a brake light is a simple maintenance task that most car owners can complete with basic tools and patience.
Tools You’ll Need
Before starting, make sure you have the necessary tools ready to make the brake light replacement process smooth and safe. Using the correct tools helps prevent damage to the housing, wiring, or new bulb during installation. If you search for auto repair near me, you can also find professional help for brake system or electrical inspections when needed.
- Replacement Brake Light Bulb: Choose the correct bulb type by checking your vehicle’s owner’s manual for compatibility and proper fit.
- Screwdriver: Use either a flathead or Phillips screwdriver, depending on your brake light housing assembly design.
- Socket Wrench (Optional): Some vehicles may require bolts or screws to be removed using a socket wrench.
- Gloves: Wear gloves to keep your hands clean and prevent skin oil or dirt from touching the new bulb.
Change Brake Light: Step-by-Step
Changing a brake light is a simple maintenance task that improves road safety and helps you avoid traffic violations. Follow each step carefully to ensure proper installation and electrical safety while replacing the bulb. At Eric’s Car Care, technicians can also help if you need a professional brake or electrical system inspection.
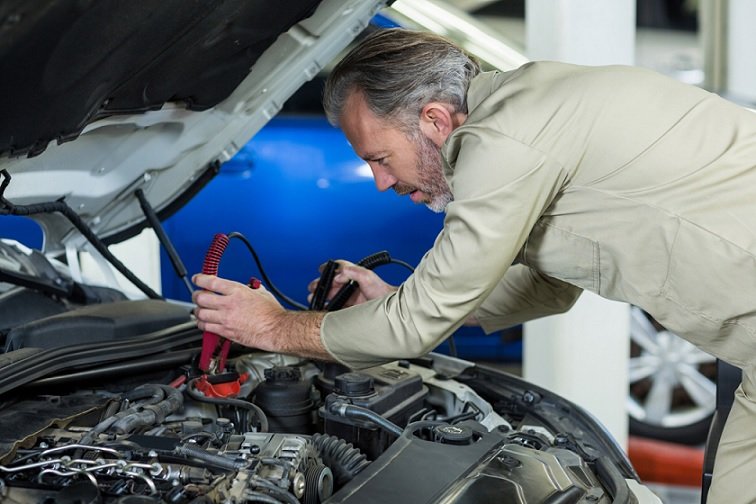
- Turn off the Car and disconnect the Battery: Park the vehicle on a flat surface and turn off the engine. Disconnect the battery to prevent electrical shocks or wiring problems.
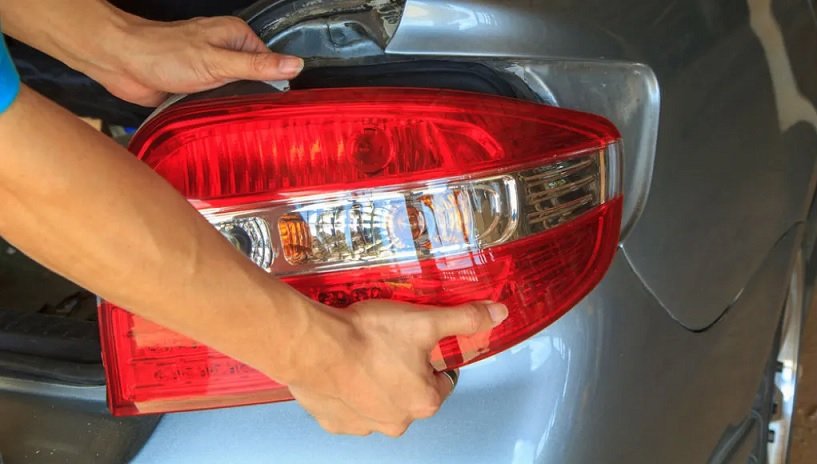
- Locate the Brake Light Housing: Open the trunk or rear hatch to access the brake light assembly. Remove interior lining or screws if they block housing access.
- Remove the Housing Cover: Use the correct screwdriver or wrench to remove the screws holding the cover. Carefully remove the cover without damaging the clips or plastic parts.
- Disconnect the Wiring: Gently unplug or unclamp the wiring connected to the bulb socket. Avoid pulling wires too hard to prevent damage.
- Remove the Old Brake Light Bulb: Twist or pull the bulb socket counterclockwise to release it. Remove the old bulb carefully, wiggling it gently if necessary.
- Insert the New Brake Light Bulb: Insert the new bulb into the socket without touching the glass surface with your bare hands. Use gloves or a clean cloth when handling.
- Reconnect the Wiring: Attach the wiring securely back to the bulb socket. Make sure the connection is tight but not forced.
- Test the New Brake Light: Start the car and press the brake pedal to check light functionality before reassembling parts.
- Reassemble the Housing: Return the housing cover and secure the screws or bolts. Reinstall any panels or trim removed earlier.
- Reconnect the Battery: Reconnect the vehicle battery after confirming the brake light works properly.
Signs Your Brake Light Needs Replacing
Brake lights are essential for safe driving because they alert other drivers when you slow down or stop. Over time, bulbs may wear out or develop electrical issues that affect performance. Regularly checking brake lights helps maintain road safety and prevents traffic violations.
- No Light When Braking: Brake light fails to turn on when pressing the brake pedal, which usually means the bulb is burnt or there is a wiring issue.
- Flickering Light: Intermittent flashing may indicate loose connections, failing bulb components, or electrical problems.
- Dim Light: Reduced brightness often suggests the bulb is nearing the end of its lifespan and needs replacement soon.
- Burnt or Broken Bulb: Any visible bulb damage requires immediate replacement to restore proper brake light function.
Mistakes to Avoid
When changing a brake light, avoiding common errors helps ensure the bulb works properly and lasts longer. Taking a few extra seconds to follow the correct installation steps can prevent electrical issues and repeat repairs.
- Forgetting to Test the Light: Always test the brake light before reassembling housing parts.
- Touching the Bulb with Bare Hands: Skin oil can shorten bulb lifespan, so use gloves or a clean cloth when handling the bulb.
- Using the Wrong Bulb Type: Always confirm bulb compatibility with your vehicle model before installation.